Latest Blogs
Software Development
Ramsha Khan
Dec 11, 2025

The New AI-Driven Store Makes You Look Like a Shoplifte...
Can you imagine shoplifting in a store with cameras in place and walking out of it without incidence? That is now a possibility. It’s time we say goodbye to checkout counters! After this AI-driven store makes it into mainstream, stores will have an opportunity to eventually phase out checkout counters.
By 2017, we have experienced e-store shopping where delivery time remains to be the biggest factor that needs optimization. But its not just online shopping experience that is getting faster but also the brick and mortar outlets that are optimizing for speed-loving, and tech-driven consumers. In our time, the difference between the real and virtual world is getting slim. While the online shopping experience is getting real, the real-world shopping experience is getting virtualized all thanks to Artificial Intelligence.
We all know how long waiting checkout queues make grocery shopping the most tedious task. But we will not have to wait long for retail stores to adapt to the AI-driven autonomous checkout. Amazon Go is already on its way to launch a new kind of grocery store where no checkout is required. They’re calling it the “Just Walk out” shopping experience for which you need their app on your phone, pick items from their store while the system upgrades its inventory and your virtual cart. A similar prototype is being tested by Standard Cognition that employs a network of cameras to monitor the action of the shopper and then couple machine vision and deep learning to display the items in your virtual cart on your smartphone app (underway).
In order to fit the definition of a “convenience store”, the retail biggies are under pressure to create a better shopping experience and autonomous checkout is their ray of hope. The idea appears promising but is not yet free of glitches.
The virtual cart happens to be the software interface for the retail stores planning to limit or recede checkout counters. When you pick up items from a similar store, the sensors recognize the items and add them to your cart against which you will be charged from your account as you walk out of the door. To get a better picture of virtual cart, here’s a glimpse of Amazon Go.
While Amazon Go allows the shopper to scan and enter the store before they begin to shop, the Walmart Scan and Go uses a different approach. At Walmart its more of a self-checkout option where you can scan your items right from your phone and pay via the app.
Fascinating isn’t it!
But so far you will need an employee to verify the receipt on your mobile device. It will take some time before the idea of autonomous checkout gets fully operational. Meanwhile, the futuristic application of AI in retail is rigorously tested. Here are some big questions that caught our attention.
Since the AI feature uses cameras, can it keep up with multiple items withdrawn from the aisle when the surrounding space is heavily crowded?
What happens when someone picks an item but places it back at a different position?
Can the system identify damage to the products while mishandling?
Is it really convenience shopping if we need different apps for each store?
So, what do you guys think? Are you excited about the idea of AI backed retail stores? Let us know by sharing your thoughts in the comments section.
Saima Naz
Jan 2, 2018
The Do’s and Dont’s of User Experience Design in e-...
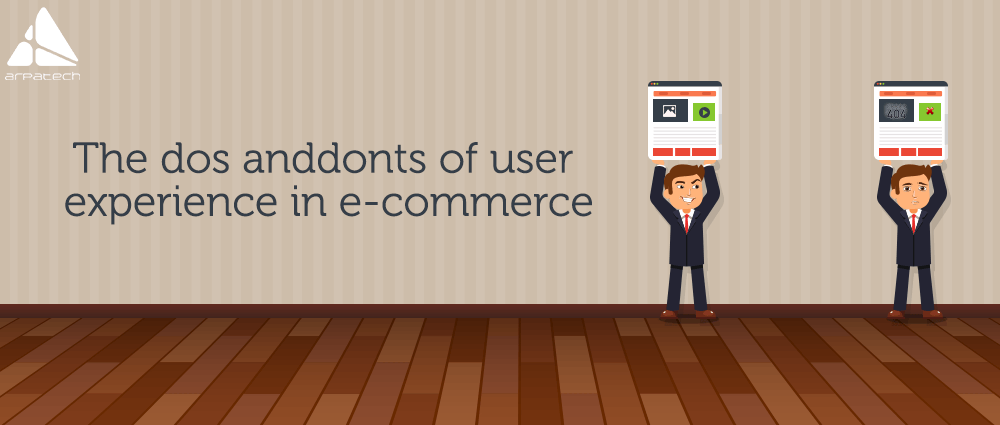
Have you ever tried to get inside the head on an online shopper? Usually, you will notice 2 evident situations.
Now both these types of users can have difference in consumer journey but they will not bounce away from an e-commerce site if it has an effective UXD. An online shopper who visits an e-store can pinpoint these two possibilities.
In order to create a seamless user experience, the web layout should present information that the visitor is looking for. As for those who get the basics right, they can encourage the visitor to buy from them. Whereas those who exceed expectation, they get a return on investment along with a happy visitor who will be motivated for repeat purchase.
But a good user experience has everything to do with a good design. Let’s visualize what the user expects from an e-commerce site and how we can limit our line of action to certain do’s and don’ts. Let’s take a look.
It’s a universal fact that all visitors are impatient and slow loading times can be death blow to an otherwise well-design e-commerce website. Preferably, the website should not have too many landing pages and their loading time should not be more than a few seconds. So while designing and coding for the web-pages, page load duration should be kept in mind.
Most e-commerce web layouts get misleading when they fail to maintain a uniform page structure. When a visitor is navigating between pages, a uniform page layout will not let them get lost in design. For instance, use a similar header and side menu to be displayed on all pages. It keeps the users focused and they don’t have to worry about the change of design as they go deeper into website.
When e-stores maintain and display products in elaborate categories, it creates better search options for visitors. It’s frustrating for a customer to type a search query and receive “nothing found” as a response. The user does not have much patience to keep typing new phrases to get a response. They will not wait to understand how the system of the website works.
Too many ads on an e-commerce site is not going to help. In fact, over-crowding of ads will overshadow the actual content. An online shopper has a far less attention span and excessive ads will affect page load times and presents information that they are not looking for. Hence, ads should be kept to a minimum number on e-commerce sites.
As a general practice, most visitors like to scan through a website before visiting a particular page. They wish to observe the e-commerce site and get an idea about the web layout by checking the visual cues such as pictures, headings, CTAs and general content placement. If a website has a complicated design, it will take longer for visitors to have a quick look.
First off, an ecommerce site needs to limit the number of Call-to-actions that can be displayed in one page. also, if the site has unrelated content and lacks visual hierarchy, then it will end up confusing the visitor. A page with CTA should limit flashy images and other distracting headings or irrelevant pop-ups. When several things compete for user’s attention, chances are they will end up skipping the CTA you intended them to land up on.
Marketers can produce the most lyrical description for a product but if it’s missing the face, then all you are doing is making empty claims. As an online shopper, I have had a fair share of bad images or incorrect images for various product listings in various online stores. Never under-estimate the power of quality images in e-commerce, for they can certainly make or break your deal.
Saima Naz
Dec 20, 2017

Depicting Programming Vocab In Visuals
Are you a newbie programmer?
If you wish to learn about coding basics, the first step is to spare some time in trying to expand your coding vocab.
Usually what developers come across the web in the name of search is pure gibberish. While books remain indecipherable, tutors and some teachers are just as ineffective to communicate the real meaning and the application of these coding terms. So how can you get it simplified? A clear understanding of some terms will enable you to understand the basics of coding. For starters, learning the language of developers might sound a little intimidating.
The basic lingo used by programmers all the time is not understood by non-programmers. Well usually that’s ok unless they need to work with programmers. In that case, misunderstanding programming lingo is a bigger problem. But you know what, giving them a glossary would not always help. We can read or refer to the coding glossary and still remain clueless about some of the terms or use them in a wrong context. To ease that problem for all clients and employers with a non-programming background, we present a visual glossary for programming vocab.
Get Professional Programmer’s Help!
It gives a clear picture about some of the most commonly used terms that will show up in coding manuals, or in conversation.
Why use programming glossary?
Why do we need to know about the terms that programmers encounter almost on a daily basis? Here are some of the possible users and reasons to refer to a programming vocab glossary.
They serve as a glossary or reference for everyone else who has little or no knowledge of these terms.
They present a complicated terminology in a simplified and understandable language
It helps for those who feel intimidated by techno babble and really wish to decipher coding or programming vocab
For learners and beginners in programming
Despite the presence of glossary to explain the basic meaning, we can take help from the visual language that explains it all.
Keeping that in view we intend to make programming terms more palatable, and digestible. So, we’ve put together some of the basic terms and presented them visually so that their meaning gets clear.
To cause a running program to stop due to an error.

To investigate and fix bugs

A piece of code that runs itself repeatedly

Contained within something like itself.

The grammatical rules of a programming language.

A type of value that represents whole numbers.

A type of value that represents numbers with fractional parts.

A piece of code that is not run until it is called.

A full piece of software that is ready to be run.

A step-by-step procedure to achieve a specific goal.

A variable that never changes it’s value.

To immediately stop a called function from running.

To retrieve input data values from an external source – usually from a file.

Saima Naz
Dec 4, 2017

Cloud Influencers To Follow On Twitter
From the cloud industry thought leaders, there are some who shaped how we deliver and consume technology today. They are the ones who remained steadfast in this emerging tech wave despite all false assumptions and myths on cloud computing. Besides debunking the common myths, they have been enlightening us with their opinion on “cloud-based” enterprise and other topics of crucial importance such as SaaS, AI and more. Other frequent topics of discussion in their niche are Internet of things and data mining.
Instead of getting distracted by heresies, let’s decipher facts from fiction. We introduce you to all the influential voices selected on the basis of their popularity, analytical skills, frequency of tweets and also because they were our personal favorites. Without further ado, let’s start connecting.

Up next on the list is Phil, a writer, consultant, and a digital business expert who has promoted the business benefits of software-as-a-service (SaaS) and cloud computing and championed industry best practices. Also, he has a diverse experience with the teams of Salesforce, NetSuite and SAP to name a few. Connect with him to gain in-depth insights on cloud computing and software as a service (SaaS).

Rachel Dines is the Director of Product Marketing for CloudHealth Technologies, a pioneering company in cloud service management. She was a former product marketer at NetApp, and had been an industry analyst at Forrester Research. You can find her research getting cited in press including the New York Times, The Wall Street Journal, USA Today, The Guardian and Computerworld to name a few.

David has created a name for himself as a cloud computing blogger appearing as a contributor in IEEE Cloud Computing, SearchAWS and SearchCloud. He is often quoted by business publications and has appeared on NPR several times as a computing industry commentator, and does a weekly podcast on cloud computing.

R Ray Wang makes it to our list of influential biggies who focus on business strategy in the post-cloud era. He is a market maker focused on business strategy and disruptive technologies. With his dynamic presentation style, he breeds life into complicated topics such as AI, digital business, future of work, digital marketing transformation, matrix commerce, next generation customer experience, consumerization of technology, and data to decisions. On top of that his blog provides insight into how disruptive technologies and business models impact brands and enterprises. Well, do you need more reasons to connect?

Currently he is Founder and President of Cumulos and Head of Projects & Solutions at Elgon S.A. but he’s been appointed as Solution Advisor, Microsoft Practice Manager, Head of Cloud Computing Department. Laurent is a multiple year MVP and is regarded as an expert in many facets of Microsoft Technologies as well as Cloud Computing.

Evan Kirstel is a B2B tech influencer with 200K Twitter, 25K LinkedIn and 140K Instagram followers, he helps massively grow social audience and leverage social media as a B2B sales networking, he leads generation and thought leadership tool. Kirstel is building an influencer network of fellow B2B thought leaders to help brands achieve massive visibility and scale across the social media landscape. He is an internationally recognized thought leader and social media influencer in IoT (#1 in 2017), Cloud, Data Security (2016), Health Tech (#9 in 2017), Digital Health (#6 in 2016), B2B Marketing (#5 in 2015), AI, Smart Home, Digital (2017), IIoT (#1 in 2017).

Jeremy Likness is an entrepreneur and technology executive who has successfully helped ship commercial enterprise software for 20 years. His specialties are in catalyzing growth, developing ideas and creating value through delivering software in technical enterprises.

Kaplan founded Thinkstrategies in 2001 to focus on the business implications of new ‘on-demand’ services, such as Cloud Computing, Software-as-a-Service (SaaS) and Managed Services on IT, Big Data, and the Internet of Things (IoT). The enterprises help with the sourcing decisions, software & IT solution providers, startups and established vendors with their go-to-market strategies. He also founded the Cloud Computing Showplace, which is the largest vendor-independent online directory of Cloud solutions and best practices.

John Rymer has studied BS in Journalism and graduated from Ohio university in 1977. In 2003 he became Vice President, Principal Analyst at Forrester Research. He is a professional who leads Forrester’s AD&D coverage of cloud platforms, including Microsoft Windows Azure, Amazon Web Services, and Salesforce’s platform. John is the lead analyst on Forrester’s application development strategy, sourcing, and structure playbook. His specialties are in cloud computing, enterprise software, and software development.

Shelly Kramer is the CEO & Founder of V3 Broadsuite. She has worked with various brands to lead them into the digital space, embrace disruption and the reality of the connected customer, and help navigate the process of Digital Transformation. Her knowledge of Big Data, the Internet of Things (IoT), Mobility, Cloud, and Collaboration, and her work with CMOs, CIOs, CXOs, and more, mean that her insights on innovation, disruption, customer experience, and transformation are based on real world experience.
For those who like to keep track of insights and latest news on cloud, let’s connect to the pros of this sector.
Saima Naz
Nov 29, 2017

Myths About Cloud – A Storm of Confusion
Has it ever occurred to you that the cloud is an actual cloud? As odd as it may sound, there are people who believe that a stormy weather can affect the cloud. I am not saying this out of my mind. An actual survey conducted by WAKEFIELD will give you a clear picture about this storm of confusion on cloud computing. The survey found that 51 percent of those surveyed thought that stormy weather could affect cloud computing.
The majority of Americans (54%) claim to never use the cloud, however 95% of those who think they’re not using the cloud, actually are:
65% are banking online,
63% have shopped online,
58% report using social networking sites,
45% have played online games,
29% store photos online
22% have stored music or videos online
Obviously, there seems to be a disconnect. They are using the cloud without knowing it.
We are about to present some clarifications about the ambiguous world of cloud and put some myths to rest. These are genuine concerns raised by entrepreneurs and need to be addressed before they too move to cloud.

Data theft and breeches have existed even before cloud servers came into existence. That existential risk can only be minimized with security features but it’s not possible to eliminate them. It is not difficult to see that security issues on cloud are almost similar to a traditional on-premise model. With various security tools and features such as data encryption, dedicated firewalls and other intrusion detection systems, it is possible to reduce risk to a far greater extent.

With cloud service, your installation and maintenance costs are reduced if you switch from an inhouse data center. In the absence of the hardware facility, the cost of power, cooling and security is also saved. If a small business enterprise chooses cloud services, they will save money in the long run.
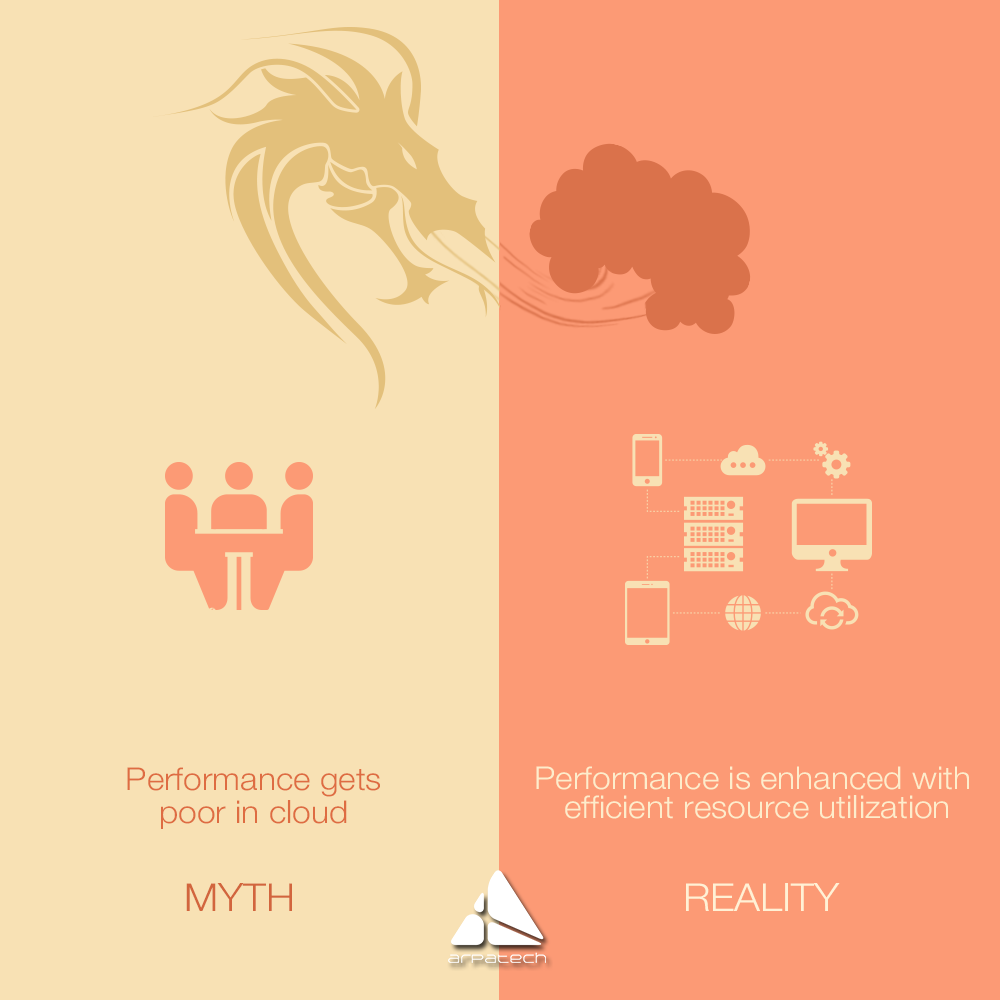
The performance has more to do with application design and deployment rather than its place of operation. If everything is designed and configured properly, moving it to the cloud would make computing efforts smoother. Furthermore, cloud offers load balancing, database management and integration with CDN providers. Hence we can conclude that performance of an application is not effected by moving to the cloud but it can be influenced by a faulty app design.

While doing our customer survey we found that it was one of the top concerns raised by businesses. Well the logic for this absurd idea lies in the belief that once data is deployed to the cloud, it’s not possible to get it back. This concern can be resolved by choosing your options correctly. Usually you get seamless data integration that allows you to move the data in and out without any risks.

With every emerging technology, there’s a genuine concern about loss of jobs. We saw a major hysteria with the emergence of cloud computing. It is true that some jobs are affected when a new technology surges but it creates more jobs than it destroys. Cloud computing is no exception to that rule.
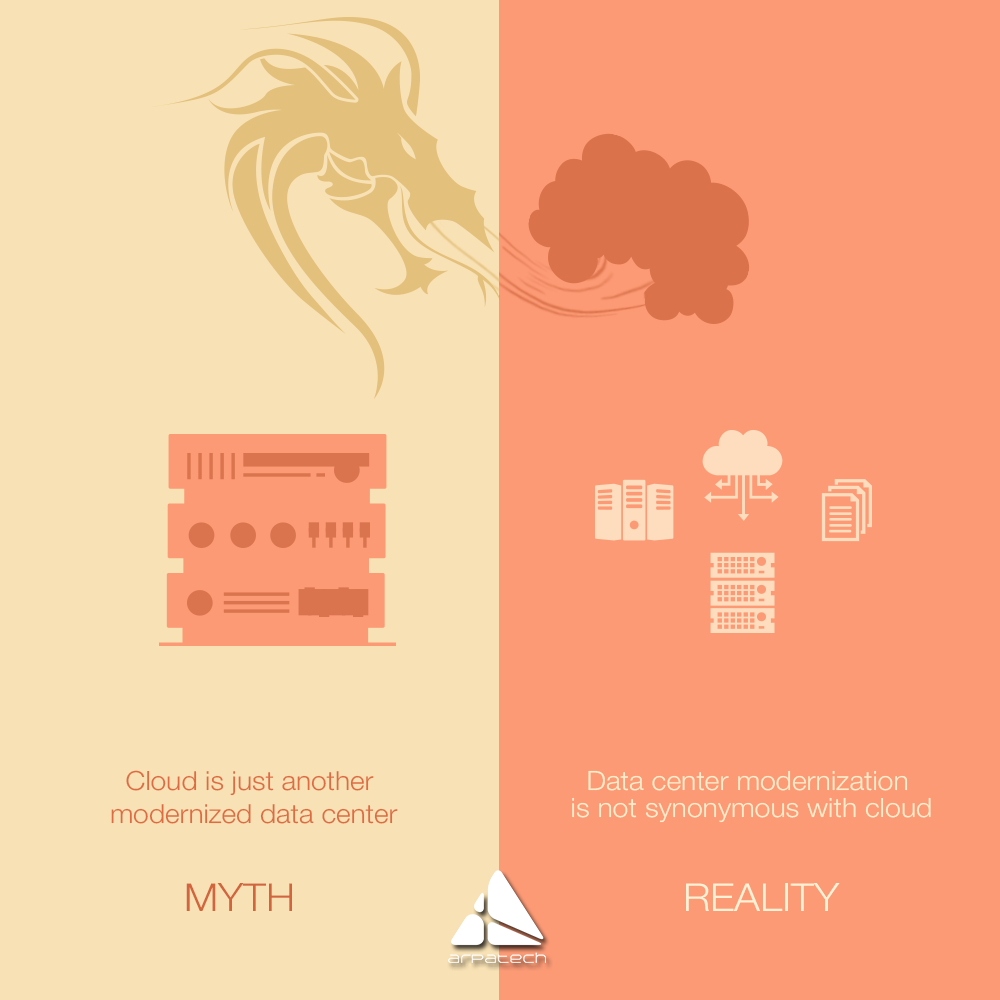
Another misconception that is taking the shape of a conspiracy theory is that cloud will replace data centers. Folks it can’t possibly shut data centers. Despite having cloud, we still need modernized data centers. The belief that a cloud is synonymous to data center modernization is a feeble myth. If there was any truth to it, data centers might have already been shut. But that is not happening despite the fact that a lot of apps have already migrated to the cloud.

An on-site data center requires a significant amount of power for the maintenance, cooling and lighting of the system. Moving on to the cloud would eliminate or minimize the need for an on-site data center. It must be noted that some cloud hosting providers have power-efficient technology. Moreover, in contrast to the servers of on-site data centers, the cloud servers occupy more data in less space and are more energy efficient than before.

Contrary to popular belief, cloud allows easy access from around the world. The thought that it can restrict control first started when there were rumors about unknown data storage space. With cloud service, you get access to view your data from anywhere around the world. The only difference is that you don’t have to involve in the extra bit of managing your software and data.
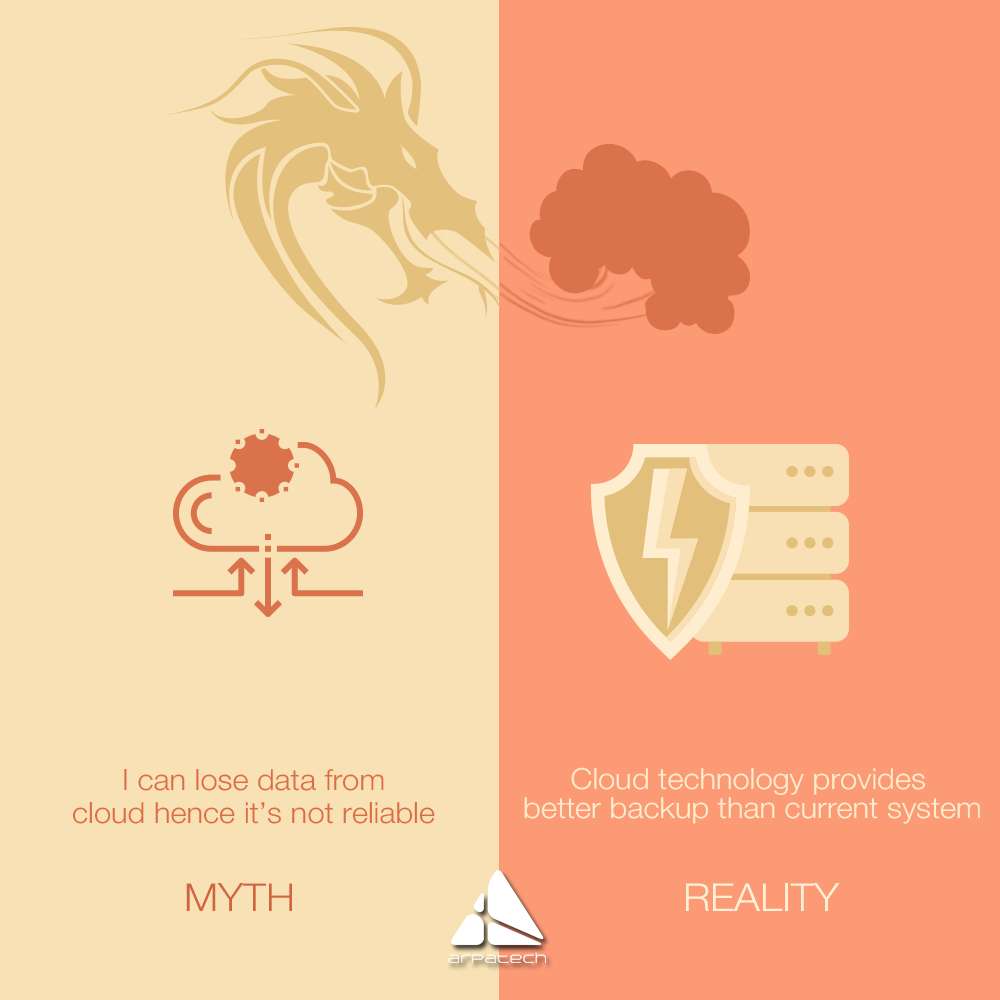
Data theft is not the only concern for business owners. Loss of data due to natural reasons can be a real challenge as well. If you need consistent backups, cloud offers solutions and options to recover data in case a disaster strikes. Continuous backup and data recovery are the two aspects of cloud hosting that makes it better than the traditional ways to create and store backup.

The notion of cloud being rigid is absurd. In fact, it is a more flexible solution that caters to the needs of various business clients by offering a wide range of cloud computing options. Moreover, it can be used on a modular basis. This allows you to select and pay for the features you choose to avail and scale up according to growth and demand of your business.
If you are reading through this article, you must have encountered some myths on cloud computing. Were they reasonable concerns or outright sighs of the layman? Share your thoughts.
Saima Naz
Nov 14, 2017

Generation Y vs Gen Z – Subtle Differences Between To...
With the new millennia, we were introduced to a new generation called generation Z. While still in their late teen and early youth, this segment is keen about e-commerce and online shopping opportunities. The generation of post millennials is going to exceed millennials and are expected to mature soon.
For they learned to swipe a screen before they learned to speak. Before we delve into the specifics on marketing to post millennials, let’s first understand some traits of this newly emerging generation.
Can you imagine a toddler could put you to shame? Just look at them using an ipad or tablet. This is the tribe of digital natives we are talking about. They will break all barriers to become the most tech-savvy generation in existence. They are early adopters when it comes to technology and are already showing signs of entrepreneurial skills. Marketers have noticed they they are easy to engage in e-commerce promotions and discounts but they still lack the buying power in comparison to millennials.
They are quick in sifting through information which means bad news for marketers. In comparison to millennials, generations Zers have a further shorter attention span. Yet there is a relief. They understand emojis and brands need to step forward to communicate in the language they understand in shorter time span. Let’s explore more about this generation and how are they different from millennials.

Gen Y vs Gen Z
Millennials were hooked to social networks, Generation Z doesn’t want to be tracked, preferring Snapchat, Secret, or Whisper to communicate.
Despite low incomes (pocket money), Gen Z spend more income online compared to gen Y.
They suffer from FOMO (fear of missing out) more than millennials, so being culturally connected is critical
Get Ecommerce development Help
Unfortunately, millennials and post millennials cannot be lumped in the same group. Marketers need to actively study generation Z and devise strategies to attract the most the digital natives who are already a promising prospect for e-commerce.
71% of Millennials followed an advertisement online before making a purchase, however only 59% of Gen Z’ers said the same.
No other generation was such a frequent user of smart phones as generation Z. They know how to sift through marketing material on mobile. According to a study by Forrester, generation Z supersedes generation Y when it comes to taking pictures on mobile, music and video streaming, receiving text alerts and while looking up for directions.
Despite this frequent usage, when it comes to purchasing products, 40% of Gen Z does so at least weekly compared with 49% of Gen Y.
A similar disparity appears in researching for products on mobile, 61 percent of Gen Z does so on mobile at least weekly compared to 66 percent for Gen Y.
We know for a fact that they are spending more time on mobile yet generation Zers are hesitant to make purchases online. This means you have to be more specific while marketing to them. Take for instance this mobile ad campaign by paramount to target 50 million people who visit Yahoo’s mobile home page each month. Near the release on the Shrek movie, the visitors to yahoo’s mobile home page saw the top of Shrek’s head near the bottom of their smart phone screen. Upon touching it, the Shrek would pop out and fill the screen. On tapping Shrek’s head again, they were redirected to Shrek mobile microsite where they could view showtimes and further info on ticket purchase.

Go mobile and get creative
When generation z comes across something emotionally enticing, they look for emojis and share buttons. Normally they sift through ads that do not offer entertainment. Generation Z is currently hooked to snapchat and Instagram due to its playful nature. This explains why marketers are actively creating emotional ads on the platforms nearest to generation z.
We have seen how storytelling for marketing affects millennials and post millennials combined. However, the approach to targeting with a campaign can yield varying results. What captures the attention of millennials might not necessarily interest post millennials. Besides, the latest generation of digital natives do not have patience of stories without room for participation. Don’t expect Gen Z to simply sit back and watch, on Facebook or anywhere else.
They want to be a part of the brand experience.
To keep generation Z hooked to your brand, you must be on Youtube and Instagram. 93% of Gen Z say they visit YouTube at least once a week, and 54% visit the site multiple times throughout the day. They represent a socially-savvy segment of people which means word-of-mouth marketing really gets to them. Also, if they see a social craze gaining momentum, they will hunt down the source of origin and would want to be a part of it. Here’s an example.
GrubHub really knows how to entice the generation Z who’s usually on snapchat. With the story feature, they created a sequence of photos that leads you to promo codes valid for delivery and take-out service. While the idea itself is profound, the addition of snapchat artist Michael Platco really boosted the campaign. This is a clear example on where to reach your most excited audience and how to keep them engaged.

Do you thinking all the above-mentioned techniques would work if they were aimed at millennials? Why or why not? Share your thoughts in comments below.
Saima Naz
Nov 7, 2017

How Can Cloud Improve Your eCommerce Business
Cloud Technology is a comprehensive tool to improve and enhance online businesses. The cloud ecommerce services offer great proven capabilities to expand online businesses. Cloud serves cost effective business model for owners to flourish their businesses quickly. It makes the most of enhancing the quality of the customer experience, a level that leads straight to success. Better still, the cloud delivers a constant and mobile-friendly online shopping platform that allows your customers to make purchases from anywhere and anytime.
Cloud Technology
The cloud technology provides a uniform computing service through their advance servers. Businesses can experience large storage capacity, handling databases, effective networking system, and also gets necessary software. The combination of all these services authorizes online shopping for your customers and to make shopping easier from any place and any time. If you are looking to optimize your online business successfully, you can consider the advanced cloud technology. It is providing the most innovative managed cloud server hosting services for your eCommerce businesses. Some core features of cloud are given below:
Managing Order and Inventory
Cloud is trying its best to manage your online orders and inventory. It provides a systematic method to work online through using software and let you run businesses effectively. In addition, the cloud software provides your required services to view your entire orders and inventory. You can manage your single and centralized tasks easily by using cloud software. Even, you can manage your orders using the website, mobile devices, and other sales points from a specific location. Cloud software also supports you to track product inventory closely so as to maintain your stock is available in the right quantity for your customers. Moreover, you can increase your relationship with your suppliers, wholesalers, and retailers using integrated networks.
Advance Customer Experience
The cloud technology for ecommerce has made everything incredibly competitive for businesses. The customers can avail advanced cloud benefits to purchase their required products. Your online customers can experience the advanced cloud methods which no online shoppers provide. Even, you can add more facilities and features to your ecommmerce site through cloud and make more attractive to gain potential customers. The cloud designing features assists you to add new innovative tools to the website. These features will support the customers to select their products easily. This way, the process of ordering will also become easier and well controlled to provide satisfying customer experience. Thus, cloud serves its best to create an advanced customer experience through all channels and devices. So, cloud urges to use the tools that make things much easier for the business optimization process.
Marketing and Promotions Support
Basically, success depends upon marketing and promotional activities. These activities serve the best to drag online traffic, encourage customers and create long-lasting business. Cloud technology is also providing marketing and promotional support to ecommerce platform for making businesses flourishing. It also supports to create customer profiles that contain multiple details. Even, it easily helps in organizing customer lists and supplies targeted offers to the customers. Moreover, cloud also assists to manage your entire digital marketing creativities. You can view your modified dashboards for observing the impact of any campaign through all channels.
Cloud technology provides an ideal solution to make businesses successful. It provides innovative powerful tools to make things easy and support ecommerce businesses. It manages orders, inventory, customer experience, marketing and promotional efforts effectively. So, the cloud provides you the best online shopping to your customers and get them satisfied when they purchase their required products. Thus, cloud technology creates a long relationship between businesses and the customers.
Saima Naz
Nov 2, 2017

5 Options For Migrating Applications To The Cloud
Why businesses think to migrate their applications to the Cloud? The migration should certainly provide the benefits and assistance to develop businesses. Precisely, the migration process depends on the experience of portfolio discovery and planning. This happens when they conclude what is currently happening around and the mutual belief between two or more groups. So, companies must know what is good and requires migration and how will they migrate over a precise application. The enterprises can outline their plans using probable understanding on how they will approach migration of the applications.
Complexity in Migration
Companies consider to migrate over some authentic application such as cloud technology. The migration process sometimes becomes quite complicated. Certain questions arise in this migration process such as what are the interrelationships, what is easy to migrate and what hardships can arise to migrate, and how will each application migrate? The enterprises can sketch a strategy counting upon such questions on how they will migrate each application within their portfolio. There arise some complexities which should be handled precisely depending upon the architecture and present license engagements.
You will find five necessary options required for migrating applications to the Cloud.
You can experience numerous primary cloud projects move towards new development using cloud competences. But, in a such a situation where any business is looking to measure its migration fast. It values that the most of the applications should rehost. For instance, if the businesses do not implement any suitable managed cloud hosting solutions and optimizations. They could save approximately thirty percent of the cost through rehosting. Precisely, the most of rehosting can systematize with innovative tools. Although, certain customers will prefer to apply this manually. So, how to implement their specific schemes to a new Cloud platform. It becomes certain that the applications easily get optimized once they are currently running in the Cloud.
Here, you may apply few cloud optimizations with the aim of accomplishing some obvious benefits. But, you are not. Because, you have to change the core planning of the application. You may also look to decrease the volume of time you consume while working with database instances. Like, migrating applications to entirely succeeded platform such as Amazon Elastic Beanstalk.
It has been ideally observed the most of the companies frequently get repurchasing for moving to a SaaS platform. Also, you may have observed moving a CRM to Salesforce or an HR system to Work day. Even, a CMS to Drupal and many more such examples came across.
This concept characteristically determines through the robust business requirement to improve features, scale, or performances. Or else, it becomes tough to achieve the application’s present situation. Suppose, if you are looking to migrate system from a massive design to a service-oriented planning for simply boosting suppleness or thinking to improve your business endurance. Thus, such design leans towards the most exclusive thing. But, if you have a good product idea that fits the market needs; you can avail the most benefits from your product.
It sounds ideal that once you have discovered everything in your environment, you must ask each practice area who holds each application. Therefore, it becomes classic to find that as much as ten percent of businesses having IT portfolio, no longer useful. It must simply need to turn off. These reserves can increase the business situation. It will direct your team’s unusual attention to the things that people normally practice. Even, lessen the surface area you have to protect.
International businesses will find ideal options and possibilities for getting migrated to cloud application. They will perform a long term service and save the cost of ownership.
Saima Naz
Nov 1, 2017

Use of Local Marketing Trends To Flourish Ecommerce Bus...
Marketing is serving its best to provide possible ways to create a successful business. People visit online stores to fulfill daily needs and shop as consumers. So, you should make the process of shopping very easy and ideal for the visitors so that they can become your permanent customers. Initially, use local marketing trends to flourish your business locally and gradually move on to market internationally. This way, you can increase sales domestically by using different tactics of local marketing. You must take the advantage of such trends as a business owner and grow your online business to get success.
Local Marketing is generally serving all sorts of businesses in different parameters. It is also supporting the web developers in ecommerce website design and development so that they can build websites meeting the criteria of marketing. Even, it is supportive to optimize your website and to provide necessary online advertising assistance. So, it plays a vital role in creating awareness of business in local regions and will easily drive traffic to your website. Local marketing also means to get assistance from your neighborhood and attract customers from local market. Specifically, it will help you target and bring your potential customers from physical stores.
There exists one precise reason to why people avoid using local marketing trends and do not utilize its empowerment. It clarifies that Google algorithm practices a searcher’s location to function significant local business. It means that your running business will get more opportunity against non-local competitors by using local methods of optimization. So, local store marketing influences this in form of giving you the ideas, schemes, and approaches. This will serve you to make it simpler for converting the local traffic into successful sales. Therefore, it will also serve you in both ways either online or in person.
Ecommerce business can get ideal benefits by using the trends of local marketing. Because it does not means just about cataloging some location or specific products. It means to cater your businesses in all directions and to increase your customers and grow your sales. It will also take you to a targeted approach with your customers and will provide a manner that looks more special. So, the local trends will favor hyper-localized marketing to increase your customers and make you successful.
You will find some Local Marketing Trends to localize your eCommerce website and increase conversions successively.
Just consider or rethink about your business values and you got to think the major changes between large corporations and how they perceive as contrasting to smaller businesses. Because, some customers think that small businesses are ideal for quality, personalization, and reliability. According to a survey, Stability and Pricing are only two factors which customers favor national chains over small and local businesses. You may consider your business values so as to become a trusted brand to target your customers within a specific region.
The website serves a vital role in creating and increasing your count of potential customers. It should work perfectly well on all types of devices that customers can probably use for shopping. Suppose, you live in the USA and you can find a large number of web development agencies in USA. They can help you design an ideal mobile-friendly website to meet your ecommerce business needs. So, your website will get an ultimate touch of a professional ecommerce site with enhanced features. Each and every functionality must work well i.e. its loading speed, product categories, precise product images, and everything. This will attract your customers to spend more time to shop their required products.
Now, you should get ready to spend money on advertising your business on different platforms. Just to make your business gets locally aware and recognizes in your locality and further across the regions. You must start advertising nationally and then move your campaign towards international to grow your fame widespread. Precisely, you can target your products through outbound marketing efforts and use the power of demographics. You can localize your business ads through paid marketing and promote your websites and products to your local customers. Later on, repeat the same process for international promotions and marketing.
Time to use your local social platform to get publicly recognized within your regions and later on globally as well. It becomes very easy to connect with different people and create awareness of your business using social platforms according to their domestic locations. Remember, just use this platform to create genuine connection with the people. This will increase awareness of your brand products through the interaction. You must not push your hard sell directly on social platform which will create entirely negative impression about your company. Ideally, you may simply use hyper-local targeted keywords to socialize your products in hashtags, bios, and posting.
You can experience all sorts of local marketing tactics that become effective for your ecommerce business. This means, you can create accurate interactions with your local customers and can speak their languages to provide relevant customer services to them. Moreover, you can arrange meetings occasionally at any local event to create company awareness. The customers simply want to feel to whom they are connected with i.e. to the Human side of your business. Consequently, you got to prove that hyper-local marketing is the ideal way to get customers’ attraction and to flourish your business successfully.
Saima Naz
Oct 31, 2017